Five easy ways
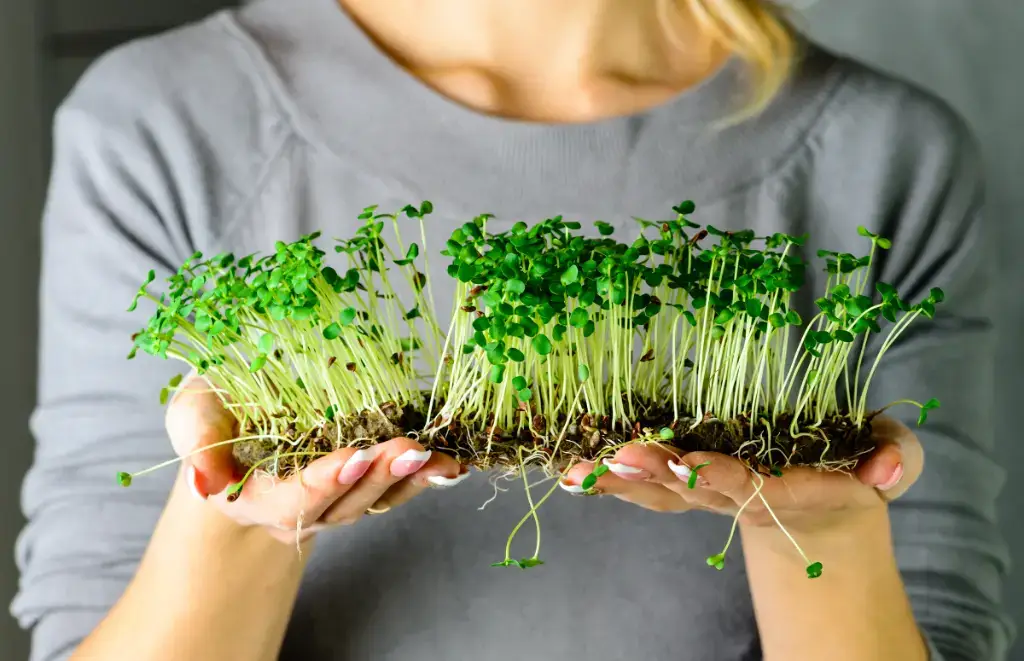
You can always have fresh herbs on your table, and you don’t have to look for them on supermarket shelves or weed the garden at your dacha. Crispy and juicy microgreens are easy to grow on the windowsill – they will make your dishes more interesting, healthier and tastier.
What are microgreens
Microgreens are young edible seedlings of vegetables and herbs, that is, not new types of plants, but an original way of growing crops familiar to us. The harvest is harvested a few days after planting, when the first leaves appear on the stems.
Growing microgreens requires minimal time and space. You can plant it almost anywhere: on windowsills, under phytolamps, outdoors or in a greenhouse. It’s an easy, inexpensive way to get fresh, nutritious food year-round.
What are the benefits of microgreens?
- Microgreens not only add color, texture and flavor to everything from salads to smoothies, but they’re also very healthy.
- Microgreens can be used to prevent cancer. Many types of plants, especially broccoli, contain high levels of sulforaphane, which research shows inhibits the growth of cancer cells.
- It contains more minerals and nutrients than mature plants.
- Rich in microelements that help prevent chronic diseases.
- Microgreens contain vitamins A, C, E, K, beta-carotene and lutein, as well as fiber.
- Microgreens in the diet help control weight.
Which seeds to choose
Microgreens can be obtained from the seeds of almost any plant, but gardeners recommend purchasing special seeds for growing microgreens, and not for planting in open ground. Such seeds can be treated with fungicides and insecticides to protect young plants in the beds. For mature fruits this is not dangerous, but when eating small sprouts it can be dangerous.
Here are some successful examples of plants for growing microgreens:
- radish;
- broccoli;
- peas;
- sunflower, wheat, flax;
- mustard;
- watercress;
- basil;
- chard (chard);
- spinach;
- onion;
- daikon;
- kohlrabi.
It is better to refuse microseedlings of nightshade crops. The foliage of these plants has many trichomes (hairs) that can affect the mouthfeel. And their consumption in large quantities causes stomach upset. Not suitable for growing:
- eggplant,
- tomatoes,
- pepper,
- potato.
What medium is suitable for growing microgreens?
It is best to grow microgreens on window sills and balconies on the sunny side, although they also take root on northern windows. If you use a phytolamp, microgreens will grow faster. Remember to mist your microgreens with a spray bottle two to three times a day.
The optimal temperature in the room is 18–24 degrees.
It is better not to place microgreens near heaters that dry out the air, or in drafty places. Stores sell mini-farms and trays specifically for growing microgreens, but you don’t have to buy them. Any plastic molds with sides, fruit and vegetable packaging, disposable tableware, and glass jars will do.
How to grow microgreens in the ground
What you will need:
- Plastic container,
- priming,
- microgreen seeds,
- spray.
What to do:
- Fill the container with soil and level it. If you are afraid to flood the seedlings, you can make drainage holes at the bottom of the container;
- sow the seeds according to the instructions on the package. Usually they are scattered in a chaotic order quite close to each other;
- sprinkle with a thin layer of earth;
- moisten generously but gently and spray with a spray bottle two to three times a day.
Tip: to make microgreens grow faster, you can cover the container with cling film, creating a kind of greenhouse. But after the seeds germinate, the tray must be opened and exposed to light.
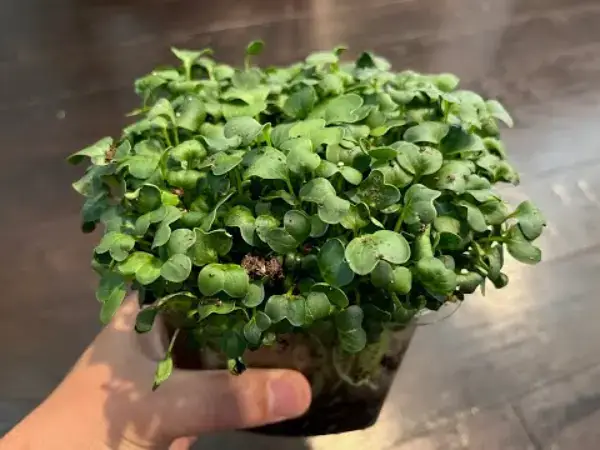
Growing radish microgreens in the ground
How to Grow Microgreens in a Glass Jar
You can grow microgreens at home without soil – using hydroponics.
What you will need:
- glass jar,
- a piece of gauze or thin cloth,
- elastic band, rope or thick thread.
What to do:
- pour the seeds into a jar and fill them with a small amount of water;
- cover the jar with a cloth and secure;
- wait until the seeds sprout, drain the water;
- pour water over the seeds again, rinse carefully and drain;
- Place the jar at an angle of 30 degrees. Wash the seeds daily to remove mucilage.
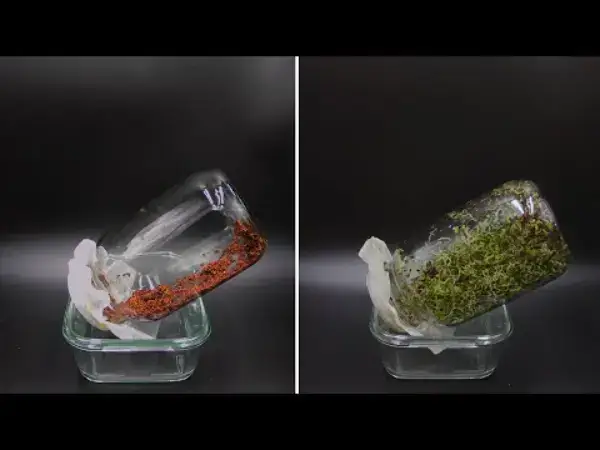
Growing Broccoli Microgreens in a Glass Jar
How to grow microgreens on gauze
What you will need:
- container or plastic substrate,
- gauze.
What to do:
- fold the gauze in several layers to the bottom of the container;
- distribute the seeds over the surface, moisten generously;
- cover the top with a thin piece of gauze.
Tip: by analogy, you can use cotton pads, paper towels, cotton wool, and toilet paper. The main thing is to avoid dryness and waterlogging.
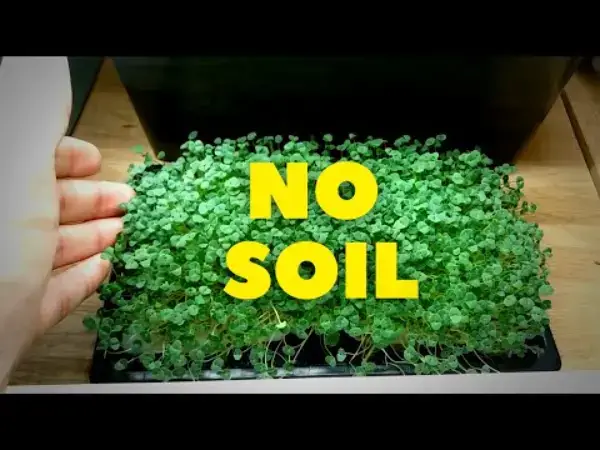
Growing microgreens without soil
How to Grow Microgreens on a Jute Mat
What you will need:
- mat for growing microgreens (jute, coconut, linen);
- Plastic container.
What to do:
- cover with film or other mat to maintain humidity.
- cut a suitable piece of mat, put it in a container, moisten it generously;
- distribute the seeds over the surface;
Problems when growing microgreens
Growing microgreens is a fairly simple process that can be done by a beginner. But even an experienced gardener can encounter difficulties.
- Seedlings that have mold or mildew will have to be thrown away. To avoid this, you need to use clean containers, after germination, keep microgreens in a bright place with good ventilation, and avoid excessive watering.
- Uneven growth. The tray of microgreens should receive equal amounts of sunlight and shade so that the sprouts are the same height. If the greens are taller on one side of the container, turn the other side toward the light.
- Slow germination. In an ideal situation, microgreens germinate in two to three days. If this does not happen, you need to increase the soil moisture level or soak the seeds for 8–12 hours before sowing.
- Leaf falling may be due to lack of water or light. You need to thoroughly moisten the soil (avoiding overwatering) and keep the containers in the light.
- During germination, if the tray with seedlings is in the shade, the leaves may turn yellow . Once you expose the plants to the sun, they will turn green.
When to Harvest Microgreens
The crop is harvested at different stages depending on the species, growth rate and taste preferences of the gardener. Usually, after 7–14 days, microgreens already reach a height of about 5 cm and produce their first leaves.
You need to cut the greens directly across the stems, leaving the roots intact, so that the plants continue to sprout – in a few weeks they will give a second harvest. It is also recommended to plant a few new seeds every ten days to achieve a continuous harvest.
It is advisable to collect the greens immediately before use. Young shoots are very tender and are unlikely to last long. But if you still need to store microgreens, it is better to keep them in a glass container.
Microgreens are ideal for adding to salads, soups, smoothies and sandwiches, as well as adding freshness to hot and cold meat and vegetable dishes.