Skip to the content
 Which plants will not grow without simulating natural conditions?
The rules for stratifying seeds at home are listed
What is seed stratification
Seeds require a certain temperature, humidity and timing to germinate. Stratification helps imitate natural conditions and speed up the emergence of sprouts. Beginning gardeners may be intimidated by the complex name, but the procedure itself does not require much effort. RBC Life tells you how to stratify seeds at home and which plants will not sprout without it.
Seed stratification is a pre-sowing treatment technique that imitates favorable natural conditions to accelerate germination. In them, the seeds undergo a period of dormancy or post-harvest ripening.
Without stratification, seeds can germinate, but the percentage will be significantly lower than with the procedure.
Inside the seed there is an embryo – the rudiment of the future plant, which begins to germinate under certain conditions. The embryos of different seeds behave differently: there are those that are under a dense shell, more or less developed.
Each plant has individual germination conditions. The better you study the needs of seeds, the greater the possibility of their germination.
Seed stratification is divided into several types.
- Warm . Required for most plants in tropical and subtropical areas. Germination begins only after the process of further development of the embryo in the seeds is completed. The process of pre-development begins after the seed is separated from the mother plant under conditions of warm stratification from several days to several months. Warm stratification will improve the germination of seeds of watermelon, melon, zucchini, delphinium and other lush garden flowers.
- Cold (cold) . Most often needed for plants in temperate and subtropical climates. Cold stratification is carried out for seeds of lavender, mountain pine, and blue spruce.
- Two-stage (combined) . Combination of warm and cold stratification. Most often, the first stage takes place in warmth, the second – at a temperature from 0 to +10 ° C. Combined stratification is needed for the seeds of Schisandra chinensis, ginseng, common ash, and adonis.

When stratifying seeds, conditions are created that are as close as possible to natural ones.
Do not confuse cold stratification with seed freezing. In the latter case, the seeds in a container with water are placed in the freezer, then taken out and waited for the ice to melt. The procedure is repeated five to seven times. It is believed that with its help you can “harden” the seeds, reduce or completely skip stratification. However, few seeds need freezing.
How to do seed stratification: conditions
For seed stratification to be successful, it is necessary to reproduce the conditions that they require when emerging from dormancy in nature.
Important: Below are the average values for stratification. The optimal values are always individual. Take the time to check the information on the seed packaging or on the Internet.
Temperature
Stratification always takes place at positive temperatures, that is, from 0° C.
- Warm stratification is carried out at temperatures from +15 to +28 °C. For example, for melon, the optimal temperature for seed germination is +25 °C .
- Cold stratification occurs at a temperature of 0…+7 °C, less often – up to +10 °C. Some species require lower temperatures (0…+4 °C), others require higher temperatures (+5…+7 °C) .
In refrigerators, the temperature in the main chamber is most often set according to Soviet GOST – approximately +5 °C. Experts consider +3 °C optimal. If you are going to store cold stratified seeds in the refrigerator, check its temperature setting and change it if necessary.
Seed stratification always takes place at positive temperatures
The number of sprouted seeds in the soil subsequently depends on the temperature. For example, apple seeds germinate best (96%) at a temperature of +15…+17 °C after stratification from 0 to +3 °C for two months. But if stratification took place at a temperature from +5 to +7 °C, then under the same conditions only 65% of the seeds will germinate in the soil.
Humidity
The seeds absorb moisture and swell, and it becomes easier for the embryo to hatch.
For both warm and cold stratification, it is necessary to maintain high humidity – about 60–75% (depending on the seeds). A plant hydrometer will help determine the exact humidity, but not everyone has such a device. Remember the basic rule: during stratification, the seeds must be sufficiently moistened, but not “float” in the water.
When cold stratification (when stored in the refrigerator), the mixture should be moistened as it dries, about once a week or less. With warm stratification – more often, since water evaporates faster.
Deadlines
The time required for stratification depends on the plant – the process usually takes from one to three months . The larger the seeds, the longer it takes to stratify. The duration of stratification increases if favorable temperature conditions are not observed.
Stratification lasts on average from one to three months
It is worth considering that different species of the same plant sometimes require different stratification conditions. For example, gray spruce germinates best with cold stratification, +1…+5 °C, within one to two months. But Brewer spruce will require more time at the same temperature – up to three months.
Conditions for cold stratification of various seeds
Plant name – time required for stratification – temperature.
- Gray spruce, Canadian, white (Picea glauca) – one to two months – +1…+5 °C (optimum* – +1 °C).
- Brewer spruce (Picea breweriana) – one to three months – +1…+5 °C.
- White fir (Abies alba Mill.) – one month – +1…+5 °C.
- Pine (Finns L.) – one to three months – +1…+5 °C.
- Whitebark pine (Pinaceae albicaulis) – three to four months – +1…+5 °C.
- Weymouth pine (Pinaceae strobus) – two months – +1…+10°C (optimum – +10 °C).
- Dwarf pine (Pinaceae pumila Regel) – four to five months – +2…+7 °C.
- Alder (some species) – one to two months – +1…+5 °C.
- Almonds (Amygdalus communis) – one to two months – +1…+5°C (optimum – +3…+5 °C).
- False two-flowered tulip (Tulipa bifloriformis Vved.) – one month – +4…+6 °C.
- Narrow-leaved blueberry (Vaccinium angustifolium Ait.) – three months – +1…+3 °C.
- Blueberry (Vaccinium corymbosum L.) – two to four months – +3…+5 °C.
* Optimum – the most favorable temperature.
According to the “Handbook for Germinating Dormant Seeds” (1985).
Seed stratification at home
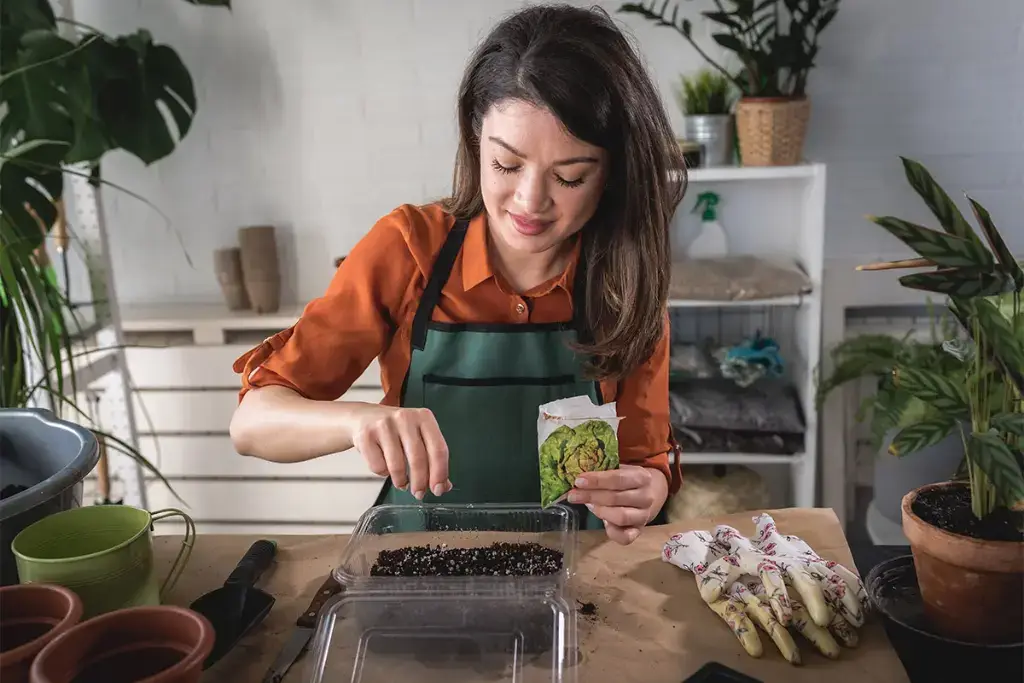
The method and time of stratification depend on the plant. For purchased seeds, the optimal dates and temperatures at which stratification should be carried out are written on the packaging. Use these tips.
The list of seeds that require stratification is huge, so before planting it is better to find out information about this on the package or on the Internet
Here is the simplest and most effective method of cold stratification , which is most often carried out for seeds in Russia.
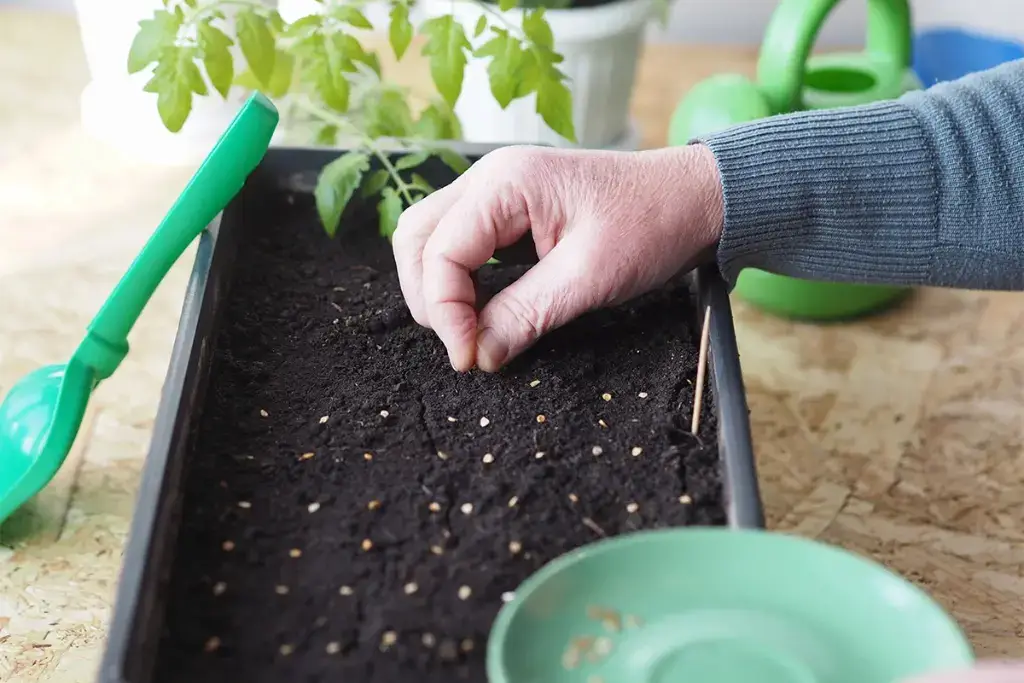
- Soak the seeds for about a day in water at room temperature. Soaking is necessary so that the seeds swell – this will make the stratification process faster and more successful.
- Prepare a substrate: sand, peat, coconut fiber or a special mixture that is sold in stores. One part of seeds requires three parts of substrate.
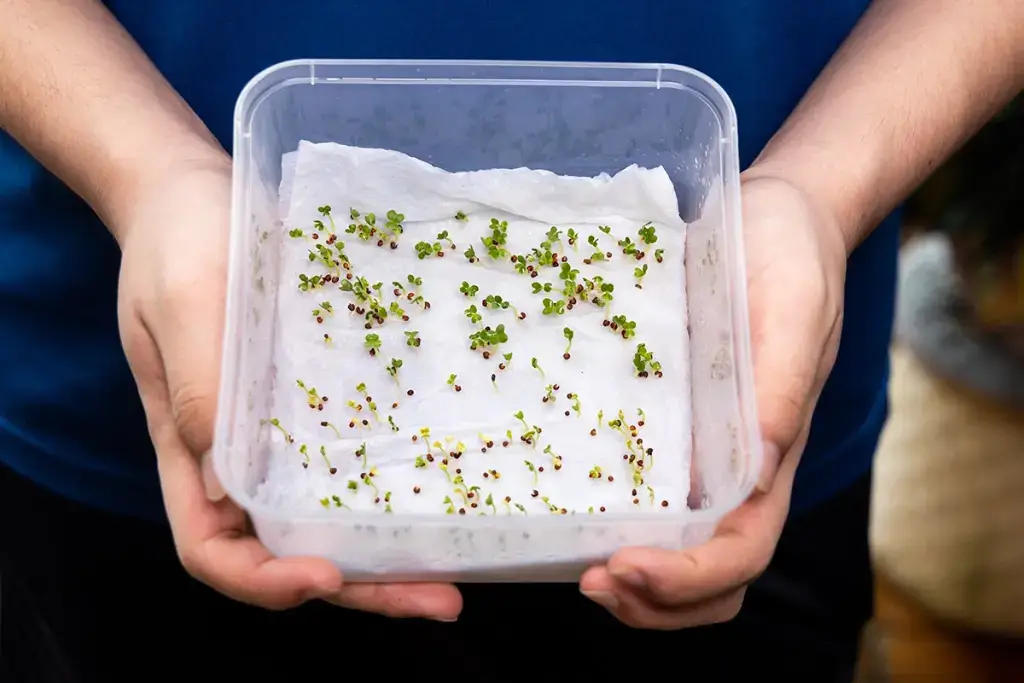
- Wet a small piece of cloth generously with water. It should be large enough to accommodate the substrate with the seeds.
- Combine the substrate with the seeds (they must first be removed from the water) and place the mixture on the cloth. Tie the fabric with a string or thread so that the mixture remains inside.
- Place the seed cloth inside the container. For small seeds you can use zip bags. The container can be loosely covered with a lid to allow access to oxygen, or wrapped in plastic wrap.
- Write (glue a sticker) on the container or zip bag the name of the plant and the start date of stratification.
- Place the container in the refrigerator (on a regular shelf, not the freezer) or basement.
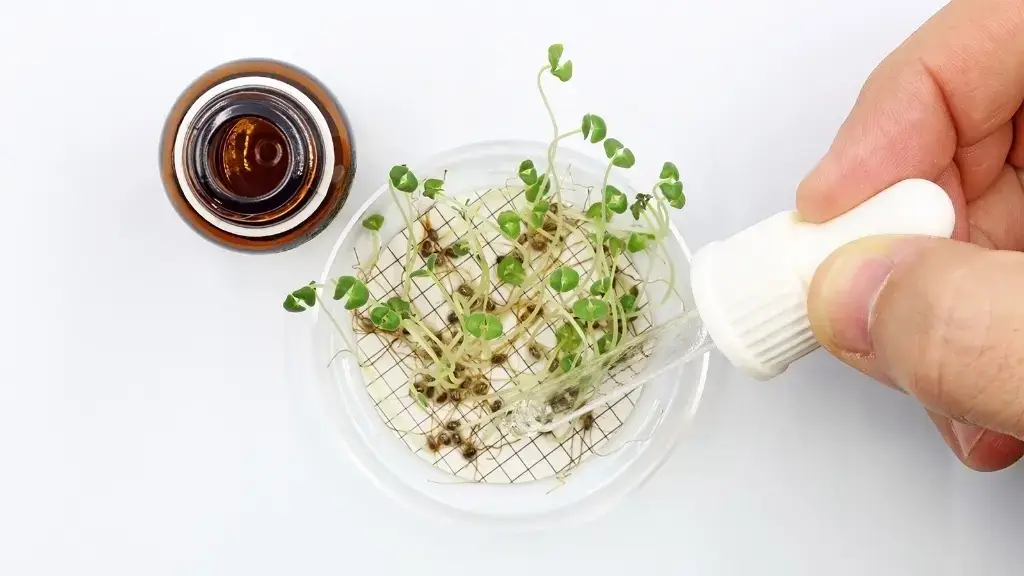
- Check the seeds once a week. Moisten the mixture periodically as it dries. If there is mold in the container, you need to treat it with an antifungal drug (for example, Fundazol).
- When the seeds hatch (the backs of the embryos appear), stratification is complete. Remove the container from the refrigerator to a warm place and begin planting in the ground. Seeds in the stratification mixture can germinate even earlier than expected. If this happens, plant them as soon as possible.
Which seeds require stratification?
- Garden flowers: adonis, delphinium, peony, verbena, primrose, lupine, sedum, aquilegia (columbine), perennial sweet pea, perennial sunflowers.
- Herbs: catnip, sage, lavender, St. John’s wort.
- Pumpkin plants: zucchini, pumpkins, watermelons, melons.
- Coniferous plants: some types of pine, spruce, fir.
- Fruit trees and shrubs: apple tree, plum tree, rose hip, cherry, thorn.
The list is huge. Before planting seeds, find out whether they require warm, cold or combined stratification – look for information on the packaging or on the Internet.